ET&WNC Hoppers - JBRR
Main menu:
- Home
- Locos
- Rolling Stock
-
Structures
- All Structures
- Industries
- Off Layout
- Railroad Property
- Town & Country
- Layout
- Vehicles
- Figures
- Events
- Articles
- What's New?
ET&WNC Hoppers
Early last century, the ET&WNC built a fleet of wooden hoppers, similar to this one.

Many years ago, I built a similar model, using scale lumber from Kappler.
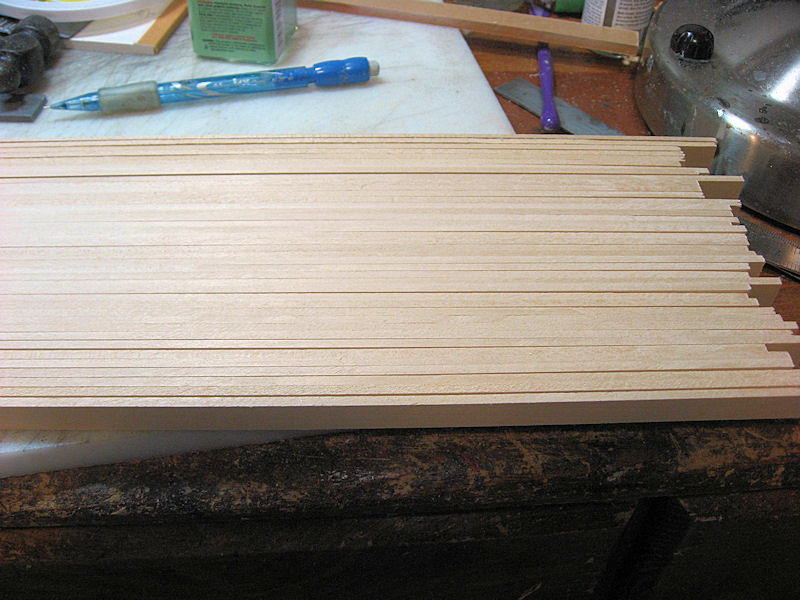
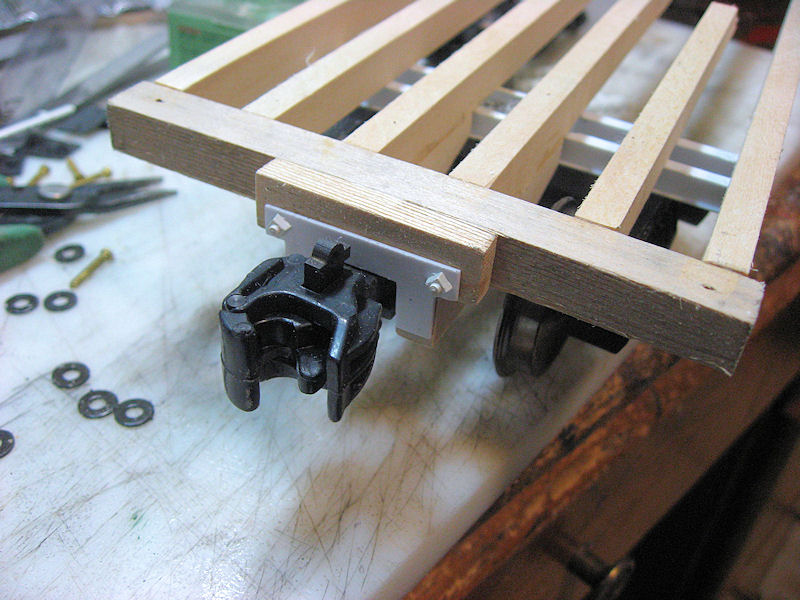
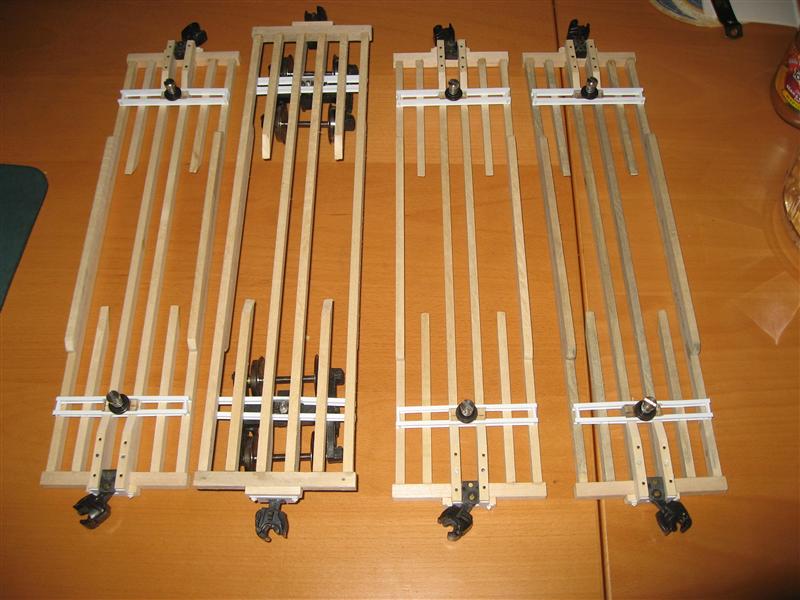
The problem with using the scale lumber is that it's not the right size. For instance, I used 2"x9" lumber for the sides. This gives you a side height of 45", but the prototype was 4 feet. I know, not a lot of difference, but enough to throw things off. So, this time I decided I'd build a fleet of four hoppers and they would be closer to scale. That means each board is a scale 9.6" wide. Not a LOT of difference, but I will have the right height. I will also be able to cut the vertical posts to exactly fit the Ozark castings; previously I had used 3"x3" and they are a bit too small. I bought a bunch of basswood from MicroMark and proceed to first built the frame. I cut some 1/4" basswood to be 8" wide. I used foamed PVC to build a nice jig and quickly glued 4 frames in place.

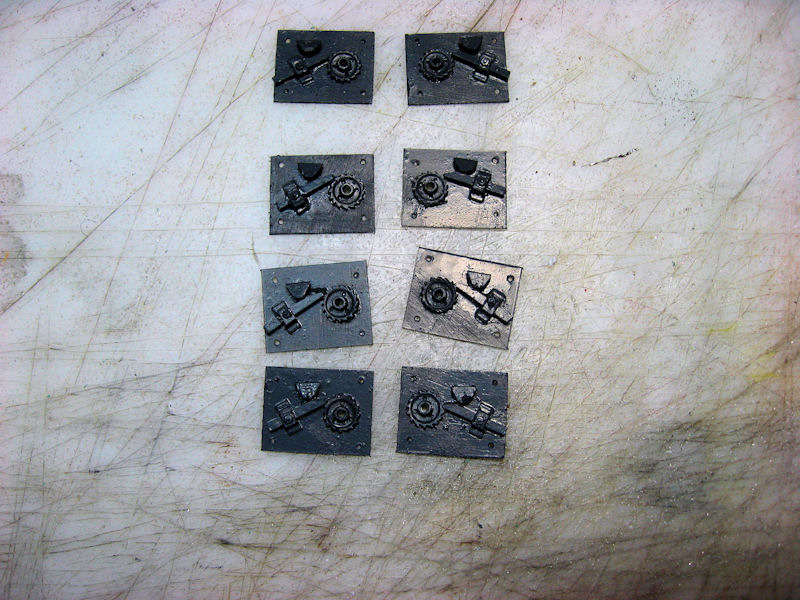
Weight and clamps are used to make sure that everything dries flat. While these were drying I decided to make the gear mechanism for lowering the doors. It is only on the one side. I started with some pawl castings from Ozark and cut the gears out by grinding from behind.

A few scraps of styrene and NBW casting and I've got a reasonable facsimile.
I need a total of 8 of these for my four cars.

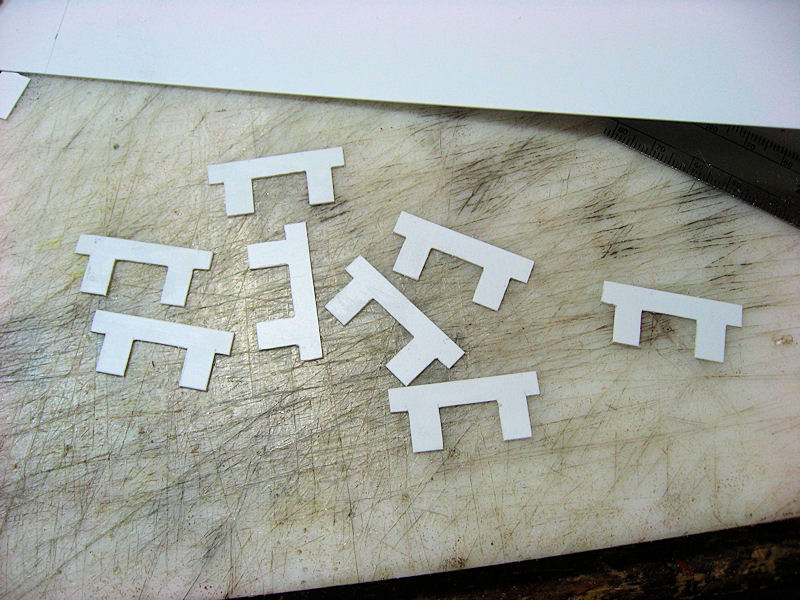
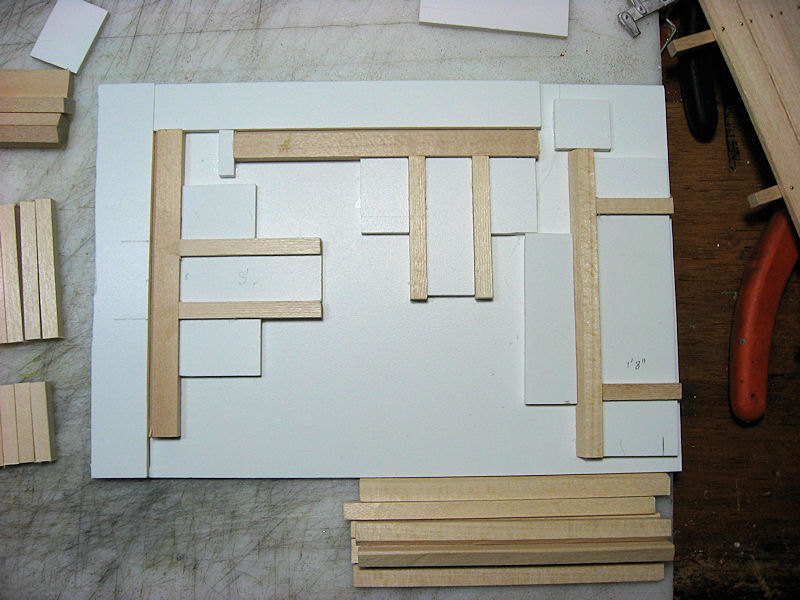
Bolsters are made from styrene I beams.
I sandwich a small piece of acrylic between the two beams, filing down the flanges to allow for a close fit.
I stuck some NBW castings into 3/32" tubing to complete the look.

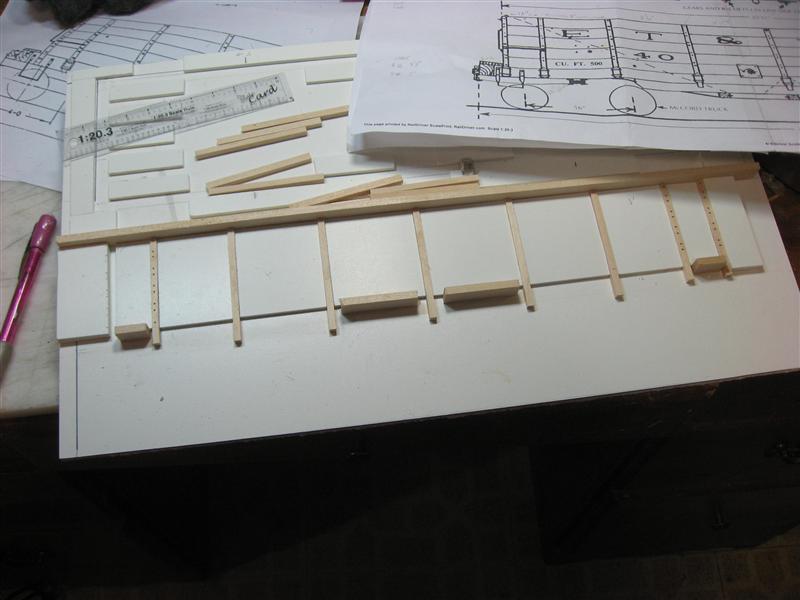
Eight sides are needed so it was necessary to build another jig to help glue the sides together.
The vertical posts are first drilled to allow for some nut-
Next, I distressed the long wood strips by running a razor saw to add some grain.
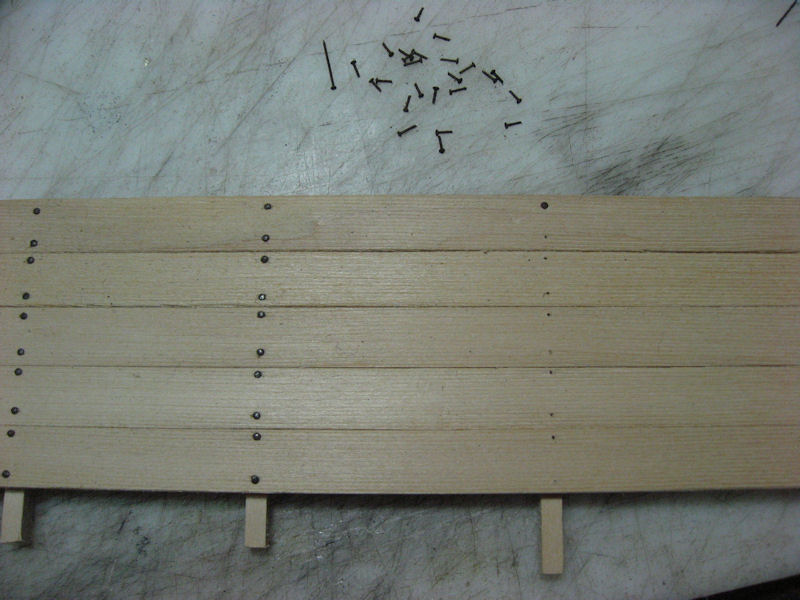
Glue is placed on the vertical posts and the strips are glued in place.

Once the sides are dry, I add some O scale nut-
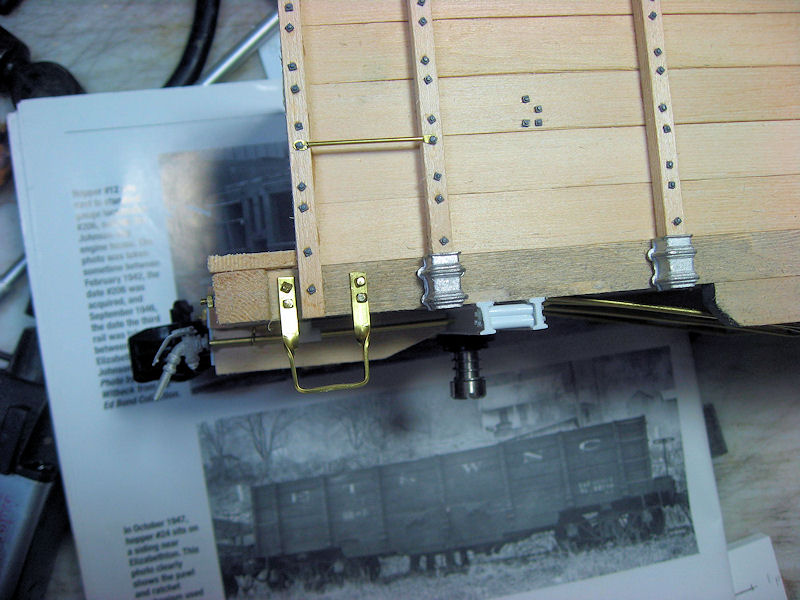
Grab irons are formed from brass rod.
Each end is flattened on a small anvil.
Then I drill a hole in each end to accommodate the NB castings.

The grab irons on each end are formed a bit differently; each have to be bent to allow for the difference from the ends.
Stirrup steps are formed from brass strips and attached using squared off escutcheon pins.
Brake detail is added using some commercial parts.
The truss rods actually work; I threaded some brass rod and put squared off nuts on each end.

I fabricated the door opening control from styrene and NB castings.
For the ratchet and pawl, I started with a commercial casting and just cut the gear out for the ratchet.
The rest is from styrene strip.

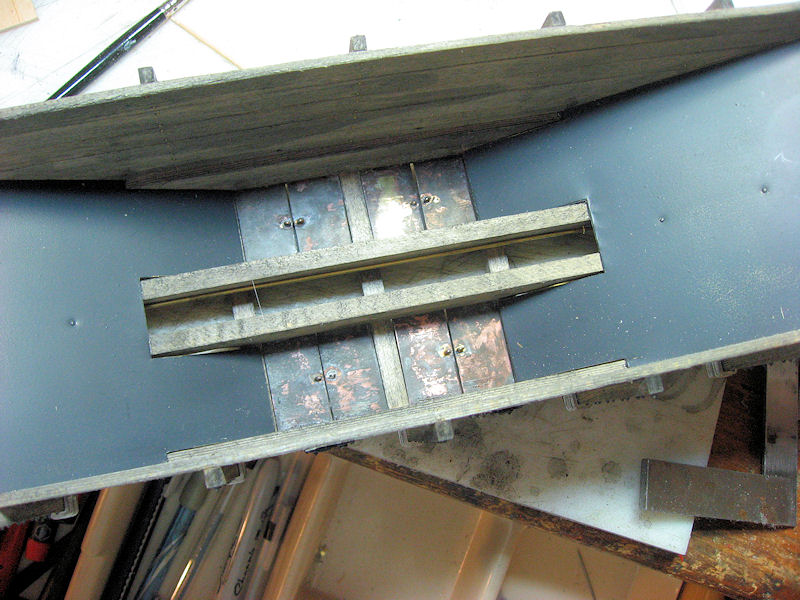
The slope sheets were created by first edge gluing wood strips together.
These were then cut to shape and covered by some .010” brass sheets, also cut to shape.
I added some bolt heads and used a styrene angle piece to finish the outside edge.

The inside of the hopper was dyed with a solution of India Ink and alcohol, giving it a nice weathered finish.
Small pins were inserted into the holes to simulate bolt holes.
These are the same holes that the nut-
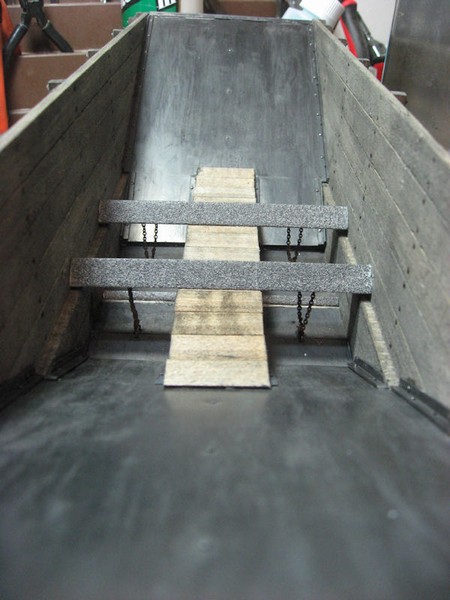
Doors are made with some thicker brass sheet cut to size. A rod ran across the hopper and I attached the chains to it with some glue.
I took some 1/2” angle pieces and spray painted them using a textured paint, to give it the look of some rough iron.
I then used some 1/8” angle pieces to hide the joint between the slope sheets and the sides. Small pin heads were used to represent the bolt heads.
Finally, the slope sheets were painted with Neo-