Hartford Kit - JBRR
Main menu:
- Home
- Locos
- Rolling Stock
-
Structures
- All Structures
- Industries
- Off Layout
- Railroad Property
- Town & Country
- Layout
- Vehicles
- Figures
- Events
- Articles
- What's New?
Hartford Kit
Hartford Products has a nice model of a Denver & Rio Grande Western 17 Foot Caboose.
It has laser cut parts and laser scribed wood.
I bought the optional jig to make it easier to keep things square when you’re assembling it.
Two sets of full size plans are included for reference with all the pieces numbered.

One of the first things to do is to paint the parts.
The interior walls are separate pieces from the exterior and they will be glued together later.
This makes painting easy.
I sprayed the outside Caboose Red and the inside white.
The real one had more of a light green inside, but this will be on the J&B, not the D&RGW.
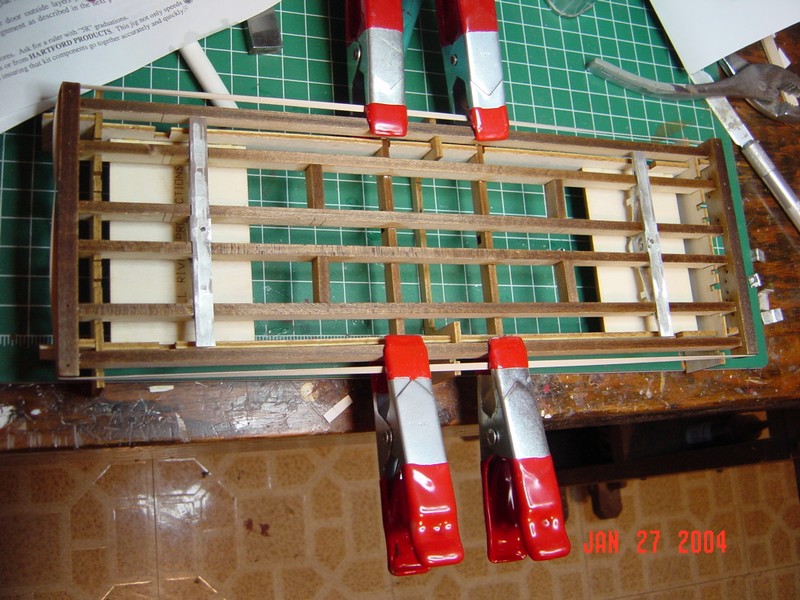
Jigs are provided to help some of the mundane tasks, like drilling some extra holes in the endbeams.
However, most of the holes are pre-

The jig makes assembly a lot easier.
Here I have it just resting on the top of the jig, as I have completed the truss rods and the brake lines.
I still need to put the air hoses in.
Bending the truss rods to their proper shape was about the toughest part of this.

The walls are made up of two pieces, an inside and an outside.
Both are scribed, but in different directions.
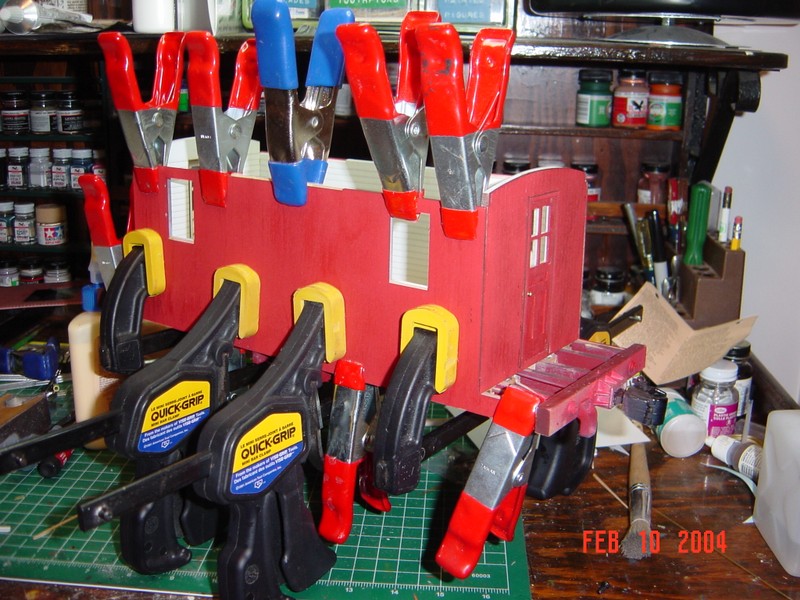
Here you can see the complete end assemblies with the inside walls glued in place.
The doors are actually made from three different pieces of wood with the glazing sandwiched between two layers.

It helps to have LOTS of clamps.

A clever jig is provided for the ladders.
This really helps when you’re trying to solder the brass wires in place -

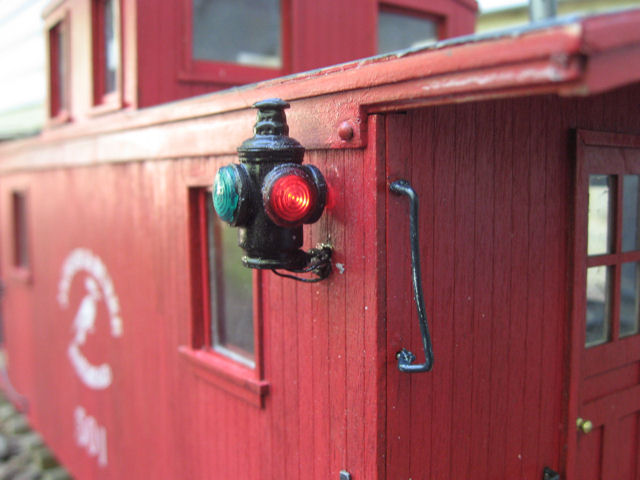
It’ll be hard to tell from outside, but I decided to build an interior for the caboose.
I also put in electric lights as well as wired the marker lights.
It’s all powered by a 1 1/2 volt battery mounted on the bottom of the car.

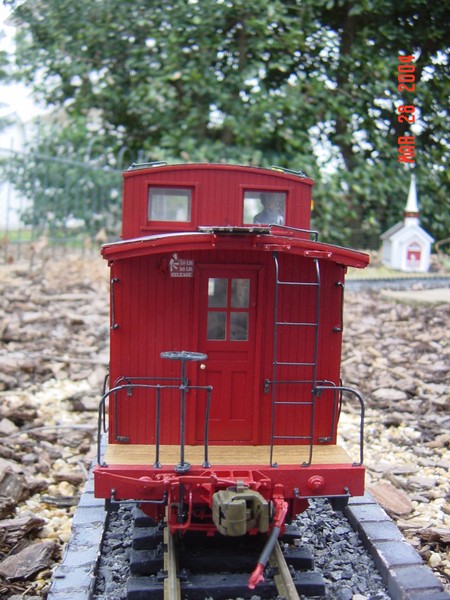
Finally complete, and ready to roll!
To the standard kit, I added the caboose marker lights (powered), air hoses, and coupler lift bars.
The roof was covered with wet/dry sandpaper and painted.